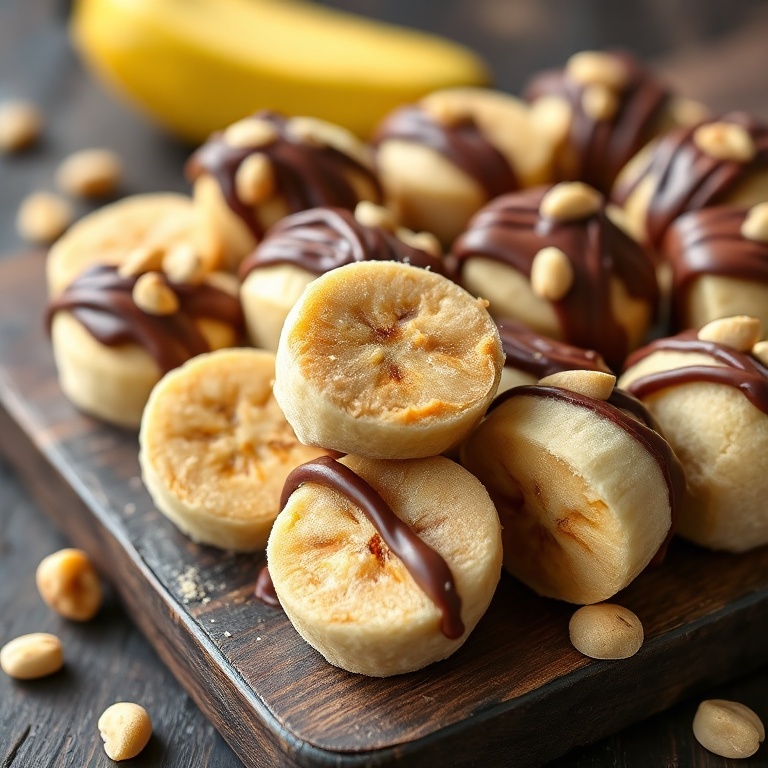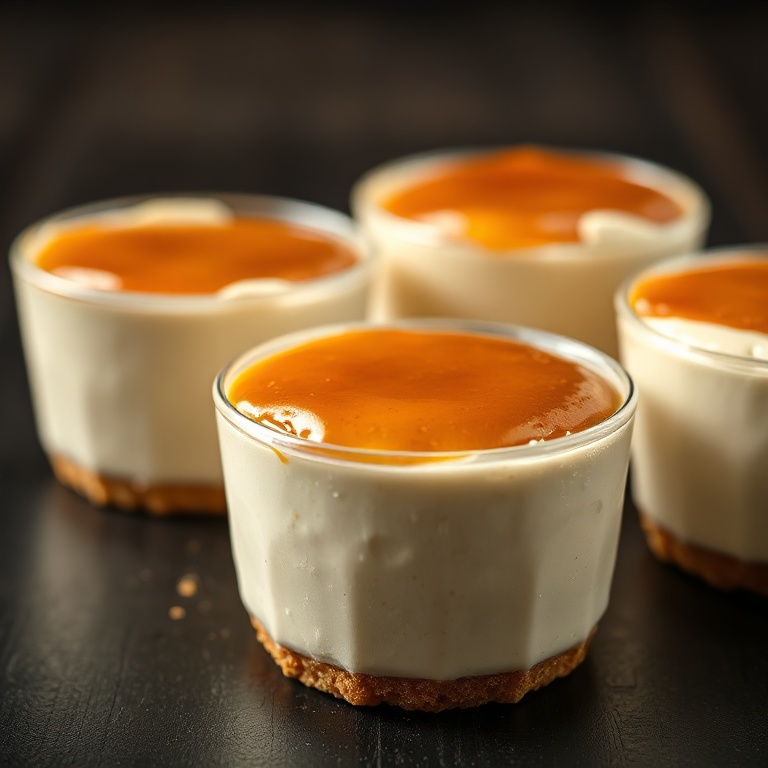
Easy No-Bake Chocolate Peanut Butter Protein Cups
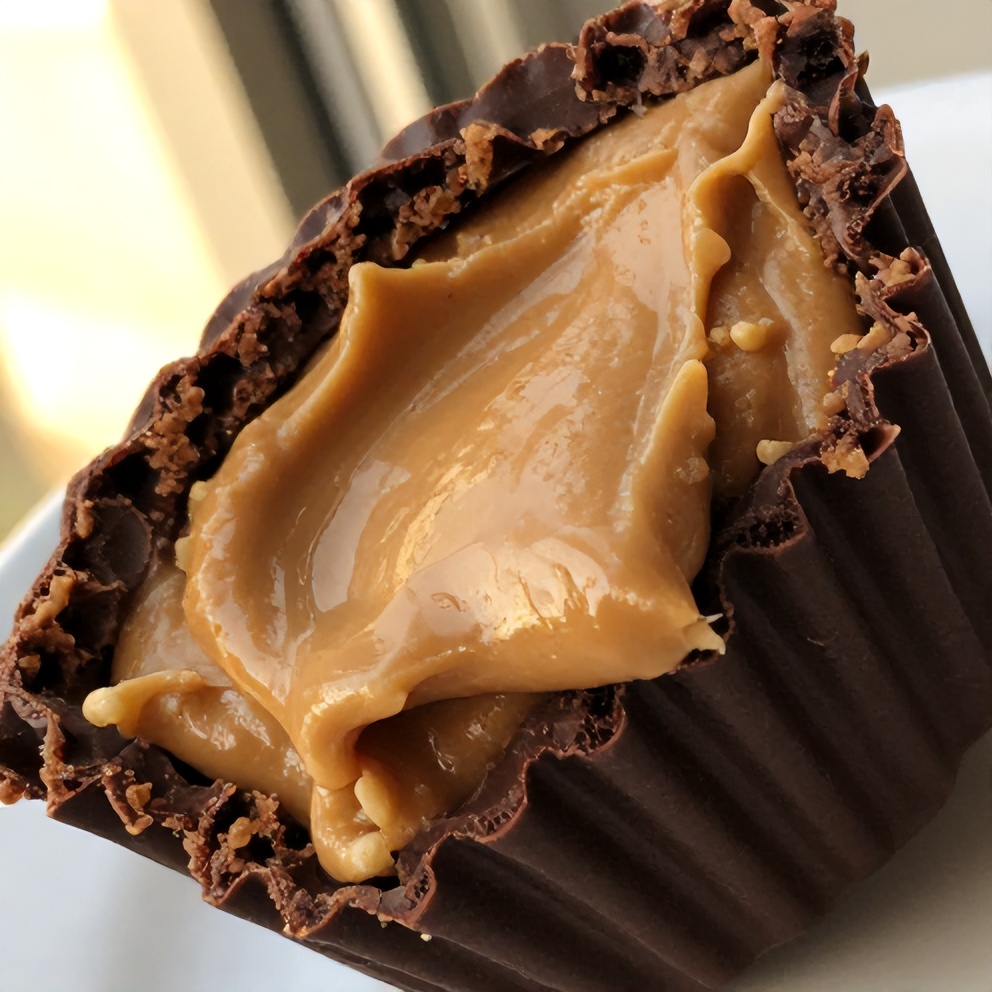
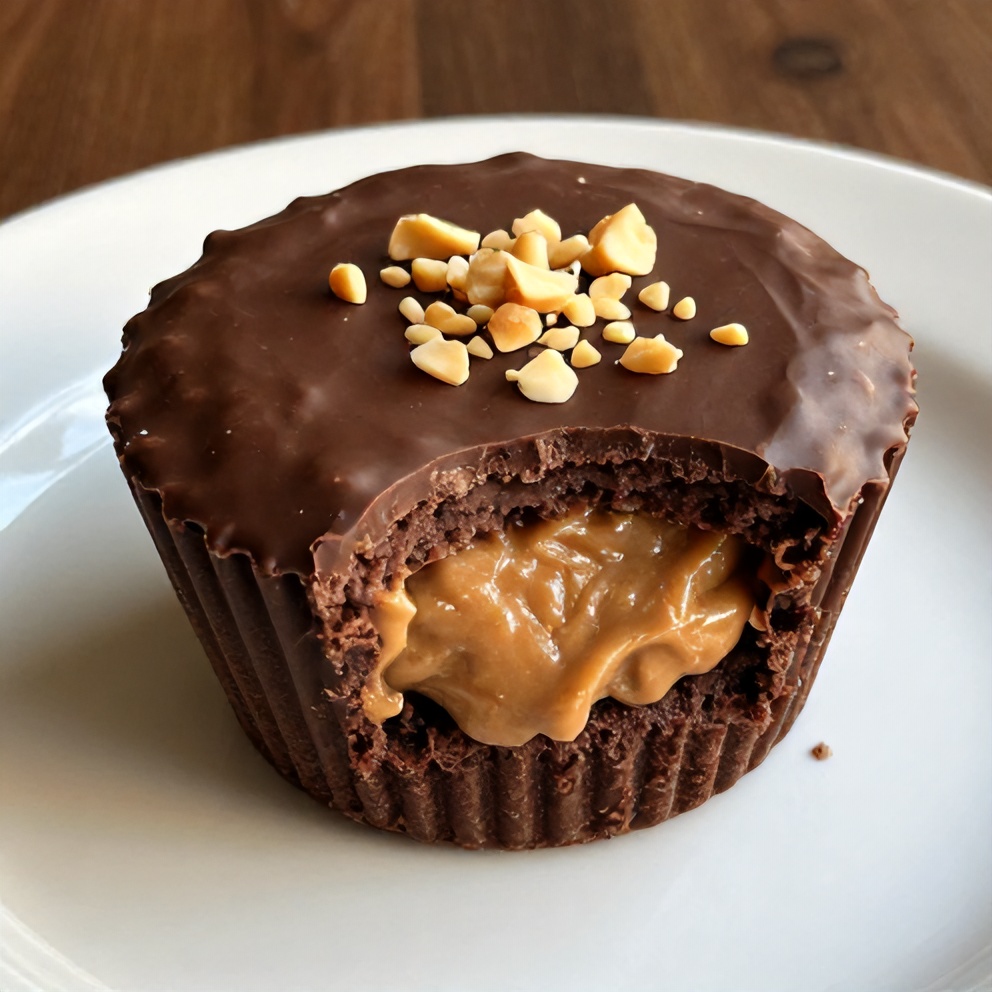
Easy No-Bake Chocolate Peanut Butter Protein Cups are the perfect guilt-free treat! After making these many times, I’ve discovered the trick to getting the perfect creamy peanut butter center every time. The warm, gooey peanut butter filling is irresistible, and the chocolate shell adds a satisfying crunch. Jump to the recipe or keep reading for my best tips, including how to prevent the peanut butter from becoming too hard. If you love recipes like this, you’ll also enjoy Easy 30-Minute Street Corn Chicken Rice Bowl Recipe and Fresh Thai Mango Green Papaya Salad with Chili Lime Dressing.
Why This Easy No-Bake Chocolate Peanut Butter Protein Cups Is Pure Comfort
- Creamy peanut butter center in a crispy chocolate shell
- Perfect guilt-free treat for satisfying cravings
- No oven required, easy to make, and freezer-friendly
- Better than takeout and great for meal prepping
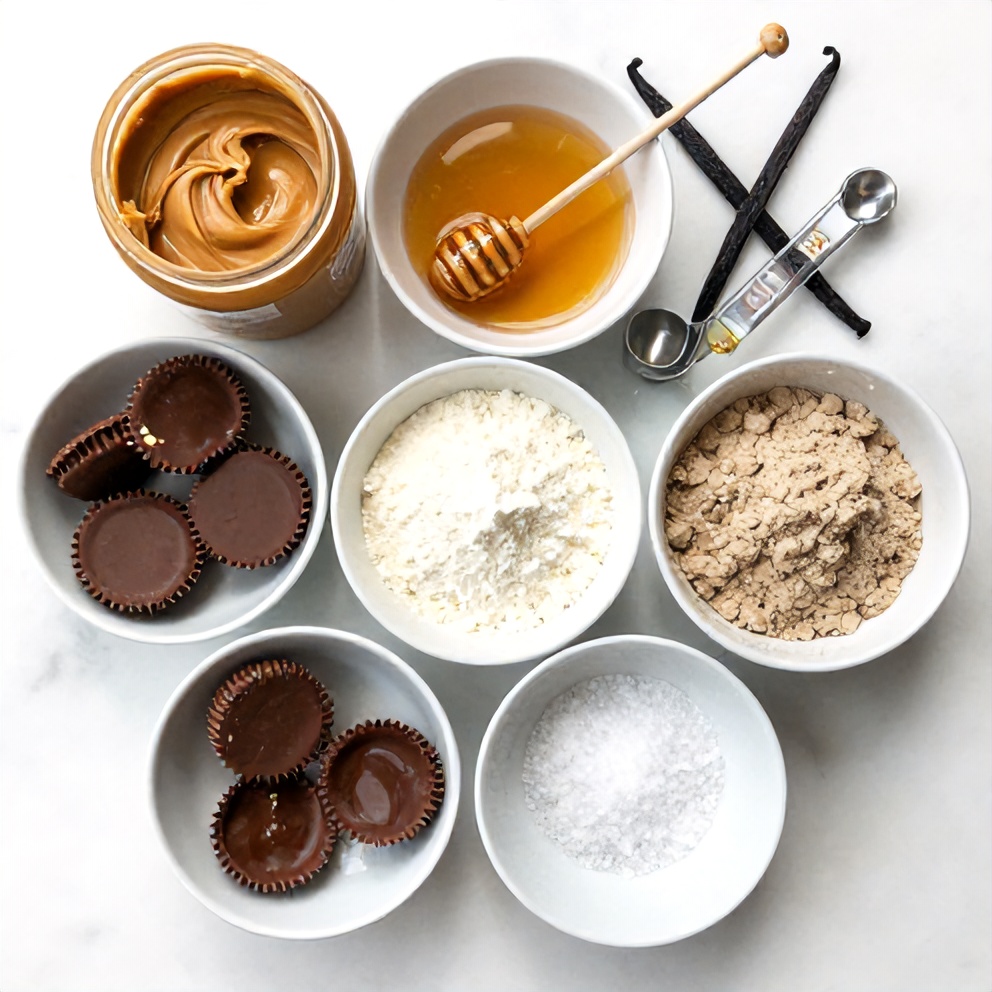
What You'll Need for Easy No-Bake Chocolate Peanut Butter Protein Cups
Choosing the right ingredients makes a big difference, but this recipe is forgiving enough to work with what you have.
- Peanut butter
- Chocolate chips
- Honey
- Vanilla extract
- Protein powder
- Vanilla extract
- Salt
- Optional: Chopped peanuts
- Optional: Melted chocolate for drizzling
📝 Ingredient Notes
- Peanut butter: Natural, unsweetened peanut butter works best.
- Protein powder: Any flavor will work, but vanilla or chocolate complements the flavors best.
🛒 Tools & Equipment I Recommend
- High-quality protein powder — Ensures a smooth, creamy texture and adds essential nutrients. → See on Amazon
- Silicon muffin liners — Makes it easy to remove the protein cups from the pan and prevents sticking. → See on Amazon
How to Make Easy No-Bake Chocolate Peanut Butter Protein Cups
- Step 1: Line a muffin tin with 12 silicon liners and set aside.
- Step 2: In a microwave-safe bowl, melt the chocolate chips in 30-second intervals, stirring between each interval until smooth. Spoon about 1 tablespoon of melted chocolate into each liner, using the back of the spoon to coat the sides and bottom evenly. Freeze for 10 minutes.
- Step 3: While the chocolate is freezing, combine the peanut butter, honey, vanilla extract, protein powder, and salt in a medium bowl. Mix until smooth and creamy. If the mixture is too thick, add a small amount of water, one teaspoon at a time, until the desired consistency is reached.
- Step 4: Remove the muffin tin from the freezer. Spoon about 1 tablespoon of the peanut butter mixture into each liner, pressing down gently to create an even layer. Freeze for an additional 10 minutes.
- Step 5: Remove the muffin tin from the freezer. Spoon the remaining melted chocolate over the peanut butter layer, using the back of the spoon to coat the top evenly. Freeze for a final 10 minutes before removing the protein cups from the liners and serving.
Cook's Tips for Perfect Easy No-Bake Chocolate Peanut Butter Protein Cups
- Pro tip: For a smoother peanut butter mixture, microwave the peanut butter for 15-20 seconds before adding the other ingredients.
- Common mistake and fix: If the peanut butter layer becomes too hard, add a small amount of coconut oil to the mixture to help soften it. Alternatively, you can store the protein cups in the refrigerator instead of the freezer for a softer texture.
- Pro tip: For a fun twist, try adding chopped peanuts or melted chocolate for drizzling on top of the protein cups.
- Pro tip: To make these protein cups ahead of time, store them in an airtight container in the freezer for up to one month. Thaw for a few minutes at room temperature before serving.
Storing & Reheating Easy No-Bake Chocolate Peanut Butter Protein Cups
Short-Term Storage
Store in an airtight container in the fridge. Store in an airtight container in the refrigerator for up to one week. Make-ahead tip: Yes, these protein cups can be made ahead of time and frozen for up to one month.
Freezing Easy No-Bake Chocolate Peanut Butter Protein Cups
Freeze in an airtight container for up to one month. Thaw for a few minutes at room temperature before serving.
Recipe Notes
- Chef tip: For a lower-sugar option, use sugar-free chocolate chips and a natural, unsweetened peanut butter.
- Best substitution: Almond butter can be substituted for the peanut butter for a different flavor profile.
- Make-ahead: These protein cups can be made ahead of time and frozen for up to one month.
- Scaling: This recipe can be easily doubled or tripled to make a larger batch.
- Troubleshooting: If the chocolate shell becomes too hard, microwave the protein cups for 10-15 seconds to soften the chocolate before serving.
Want to level up this recipe?
High-quality chocolate chips — Ensures a smooth, creamy chocolate shell that adds the perfect crunch to these protein cups. → Check price on Amazon
Easy No-Bake Chocolate Peanut Butter Protein Cups
Ingredients
Main Ingredients
- Peanut butter
- Chocolate chips
- Honey
- Vanilla extract
- Protein powder
Seasonings
- Vanilla extract
- Salt
Optional Toppings
- Chopped peanuts
- Melted chocolate for drizzling
Instructions
- Step 1: Line a muffin tin with 12 silicon liners and set aside.
- Step 2: In a microwave-safe bowl, melt the chocolate chips in 30-second intervals, stirring between each interval until smooth. Spoon about 1 tablespoon of melted chocolate into each liner, using the back of the spoon to coat the sides and bottom evenly. Freeze for 10 minutes.
- Step 3: While the chocolate is freezing, combine the peanut butter, honey, vanilla extract, protein powder, and salt in a medium bowl. Mix until smooth and creamy. If the mixture is too thick, add a small amount of water, one teaspoon at a time, until the desired consistency is reached.
- Step 4: Remove the muffin tin from the freezer. Spoon about 1 tablespoon of the peanut butter mixture into each liner, pressing down gently to create an even layer. Freeze for an additional 10 minutes.
- Step 5: Remove the muffin tin from the freezer. Spoon the remaining melted chocolate over the peanut butter layer, using the back of the spoon to coat the top evenly. Freeze for a final 10 minutes before removing the protein cups from the liners and serving.
Notes
- Chef tip: For a lower-sugar option, use sugar-free chocolate chips and a natural, unsweetened peanut butter.
- Best substitution: Almond butter can be substituted for the peanut butter for a different flavor profile.
- Make-ahead: These protein cups can be made ahead of time and frozen for up to one month.
- Scaling: This recipe can be easily doubled or tripled to make a larger batch.
- Troubleshooting: If the chocolate shell becomes too hard, microwave the protein cups for 10-15 seconds to soften the chocolate before serving.
Storage
- Fridge: Store in an airtight container in the refrigerator for up to one week.
- Freezer: Freeze in an airtight container for up to one month. Thaw for a few minutes at room temperature before serving.
- Make ahead: Yes, these protein cups can be made ahead of time and frozen for up to one month.
Nutrition Per Serving
- Calories: 140
- Protein: 6g
- Fat: 9g
- Carbs: 10g
- Fiber: 2g
- Sugar: 5g
- Sodium: 100mg
- Cholesterol: 0mg
- Sat. Fat: 2g
Nutritional values are estimates only. Actual values may vary by brand and portion size.
Easy No-Bake Chocolate Peanut Butter Protein Cups FAQs
Yes, these protein cups can be made ahead of time and frozen for up to one month. Thaw for a few minutes at room temperature before serving.
If the chocolate shell becomes too hard, microwave the protein cups for 10-15 seconds to soften the chocolate before serving. Alternatively, you can store the protein cups in the refrigerator instead of the freezer for a softer texture.
Yes, these protein cups can be frozen for up to one month. Thaw for a few minutes at room temperature before serving.
Store in an airtight container in the refrigerator for up to one week or in the freezer for up to one month.
Any flavor of protein powder will work, but vanilla or chocolate complements the flavors best. Ensure the protein powder is unsweetened to avoid adding excess sugar to the recipe.
A Warm Final Note
I can’t wait for you to try Easy No-Bake Chocolate Peanut Butter Protein Cups and see how effortlessly it comes together. When you make it, pop back here and leave a rating or share how it turned out — I love hearing from you!