Creamy Coconut Custard Ice Cream
Creamy Coconut Custard Ice Cream is the ultimate treat for anyone who craves something rich and smooth. This recipe solves the problem of store-bought ice cream that lacks depth and flavor. After making this many times, I know the exact steps to get the perfect texture every time. The creamy mouthfeel and tropical aroma make it a must-try. Try my Mini Lemon Blueberry Cheesecakes for a sweet contrast. Jump to the recipe card or keep reading for my best tips. If you love recipes like this, you’ll also enjoy Easy Swiss Mushroom Melt Sandwich Recipe for Dinner and Mini Lemon Blueberry Cheesecakes Recipe for Easy Dessert.
Why This Creamy Coconut Custard Ice Cream Is Pure Comfort
- Rich and creamy texture
- Tropical coconut flavor
- Easy to make at home
- Perfect for summer
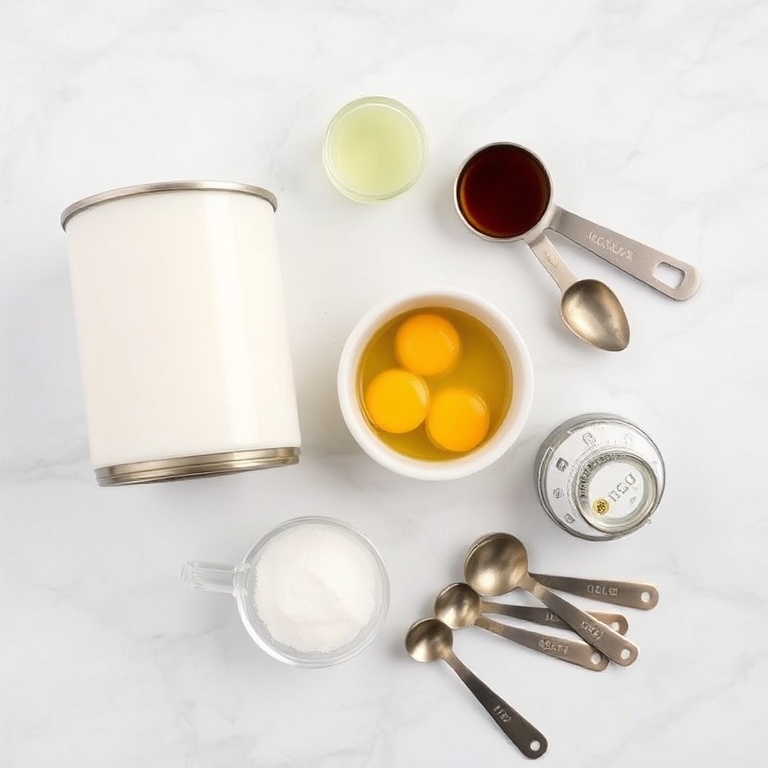
What You'll Need for Creamy Coconut Custard Ice Cream
Choosing the right ingredients makes a big difference, but this recipe is forgiving enough to work with what you have.
- 2 cups full-fat coconut milk
- 1/4 cup sugar
- 4 egg yolks
- 1/2 cup heavy cream
- 1 teaspoon vanilla extract
- Pinch of salt
- 1/4 teaspoon cinnamon (optional)
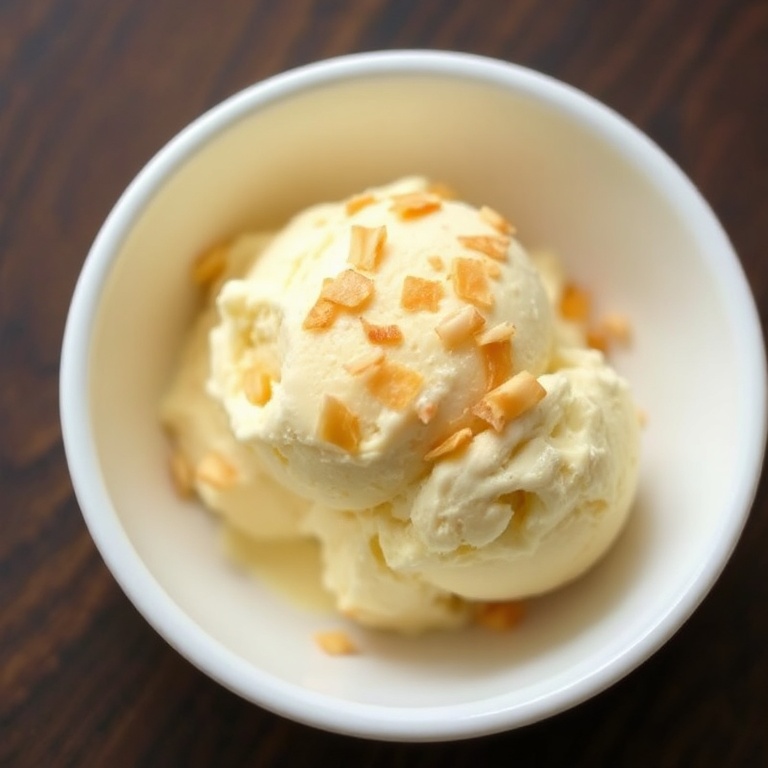
- Optional: Toasted coconut flakes
- Optional: Caramel drizzle
- Optional: Fresh berries
📝 Ingredient Notes
- Coconut milk: Use full-fat canned coconut milk for the best texture.
- Egg yolks: Separate the yolks from the whites to avoid a rubbery texture.
🛒 Tools & Equipment I Recommend
- Immersion Blender — Ensures a smooth custard base without lumps → See on Amazon
- Ice Cream Maker — Makes churning the custard simple and efficient → See on Amazon
How to Make Creamy Coconut Custard Ice Cream
- Step 1: In a saucepan, mix coconut milk, sugar, and a pinch of salt over medium heat. Stir until sugar dissolves.
- Step 2: In a bowl, whisk egg yolks, then slowly add a ladle of the hot milk mixture to temper them.
- Step 3: Pour the tempered egg mixture back into the saucepan. Cook on low heat, stirring constantly, until it thickens.
- Step 4: Stir in vanilla extract and heavy cream. Cool completely in the fridge for at least 2 hours.
- Step 5: Churn in an ice cream maker according to the manufacturer's instructions. Freeze until firm.
Cook's Tips for Perfect Creamy Coconut Custard Ice Cream
- Texture tip: Cook the custard slowly to avoid curdling. Constant stirring is key.
- Common mistake and fix: If the custard is too thin, chill it longer before churning. If it's too thick, add a splash of coconut milk.
- Flavor tip: Add a splash of coconut oil for extra richness and a smoother finish.
- Storage tip: Store in an airtight container in the freezer for up to 2 weeks.
Storing & Reheating Creamy Coconut Custard Ice Cream
Short-Term Storage
Store in an airtight container in the fridge. 1 day Make-ahead tip: Make the custard up to 2 days in advance
Freezing Creamy Coconut Custard Ice Cream
2 weeks
How to Reheat Without Drying It Out
Oven: Preheat to 350°F, warm in a covered dish for 10 minutes Microwave: Heat in 30-second increments until softened
Recipe Notes
- Chef tip: For a richer flavor, use coconut cream instead of regular coconut milk.
- Best substitution: Replace heavy cream with full-fat canned coconut milk for a vegan version.
- Make-ahead: Chill the custard base overnight for the best texture.
- Scaling: Double the recipe for larger batches, but keep the same ratios.
- Troubleshooting: If the custard is too sweet, reduce the sugar by 1/4 cup next time.
Want to level up this recipe?
Canning Jar — Perfect for storing and serving homemade ice cream → Check price on Amazon
Creamy Coconut Custard Ice Cream
Ingredients
Main Ingredients
- 2 cups full-fat coconut milk
- 1/4 cup sugar
- 4 egg yolks
- 1/2 cup heavy cream
- 1 teaspoon vanilla extract
Seasonings
- Pinch of salt
- 1/4 teaspoon cinnamon (optional)
Optional Toppings
- Toasted coconut flakes
- Caramel drizzle
- Fresh berries
Instructions
- Step 1: In a saucepan, mix coconut milk, sugar, and a pinch of salt over medium heat. Stir until sugar dissolves.
- Step 2: In a bowl, whisk egg yolks, then slowly add a ladle of the hot milk mixture to temper them.
- Step 3: Pour the tempered egg mixture back into the saucepan. Cook on low heat, stirring constantly, until it thickens.
- Step 4: Stir in vanilla extract and heavy cream. Cool completely in the fridge for at least 2 hours.
- Step 5: Churn in an ice cream maker according to the manufacturer's instructions. Freeze until firm.
Notes
- Chef tip: For a richer flavor, use coconut cream instead of regular coconut milk.
- Best substitution: Replace heavy cream with full-fat canned coconut milk for a vegan version.
- Make-ahead: Chill the custard base overnight for the best texture.
- Scaling: Double the recipe for larger batches, but keep the same ratios.
- Troubleshooting: If the custard is too sweet, reduce the sugar by 1/4 cup next time.
Storage
- Fridge: 1 day
- Freezer: 2 weeks
- Oven reheat: Preheat to 350°F, warm in a covered dish for 10 minutes
- Microwave reheat: Heat in 30-second increments until softened
- Make ahead: Make the custard up to 2 days in advance
Nutrition Per Serving
- Calories: 280
- Protein: 3g
- Fat: 18g
- Carbs: 24g
- Fiber: 1g
- Sugar: 22g
- Sodium: 50mg
- Cholesterol: 180mg
- Sat. Fat: 14g
Nutritional values are estimates only. Actual values may vary by brand and portion size.
Creamy Coconut Custard Ice Cream FAQs
Yes, the custard base can be made up to 2 days in advance. Freeze the churned ice cream for up to 2 weeks.
This usually happens if the custard wasn't chilled enough before churning. Make sure it's fully cooled in the fridge for at least 2 hours.
Full-fat coconut milk is best for the creamy texture. You can use whole milk, but the texture will be lighter.
Yes, this creamy coconut custard ice cream is perfect for summer and tropical-themed gatherings. Its rich flavor makes it a crowd-pleaser.
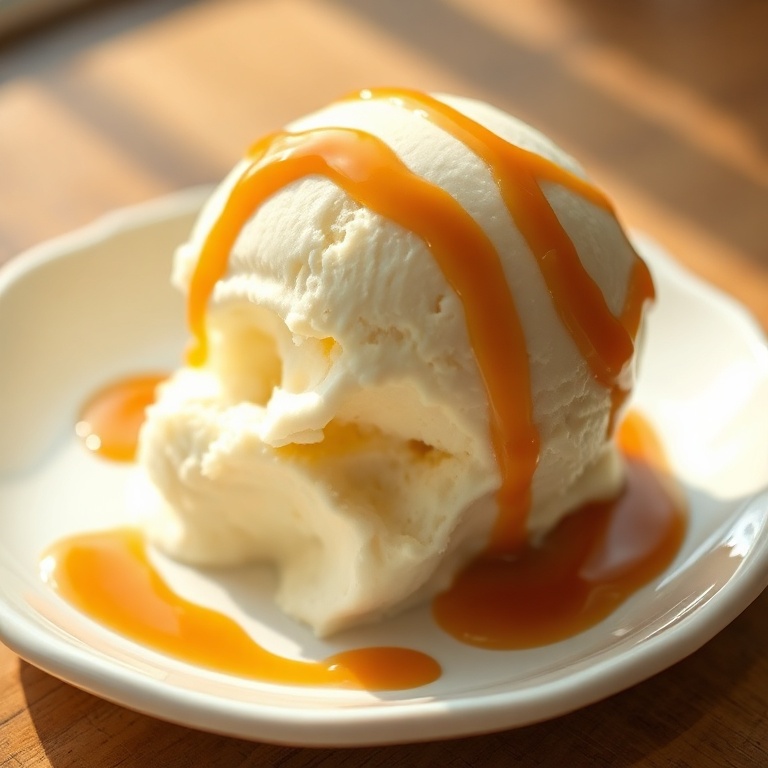
Serve it in a bowl with a drizzle of caramel sauce or fresh tropical fruit for added flavor and texture.
A Warm Final Note
I can’t wait for you to try Creamy Coconut Custard Ice Cream and see how effortlessly it comes together. When you make it, pop back here and leave a rating or share how it turned out — I love hearing from you!