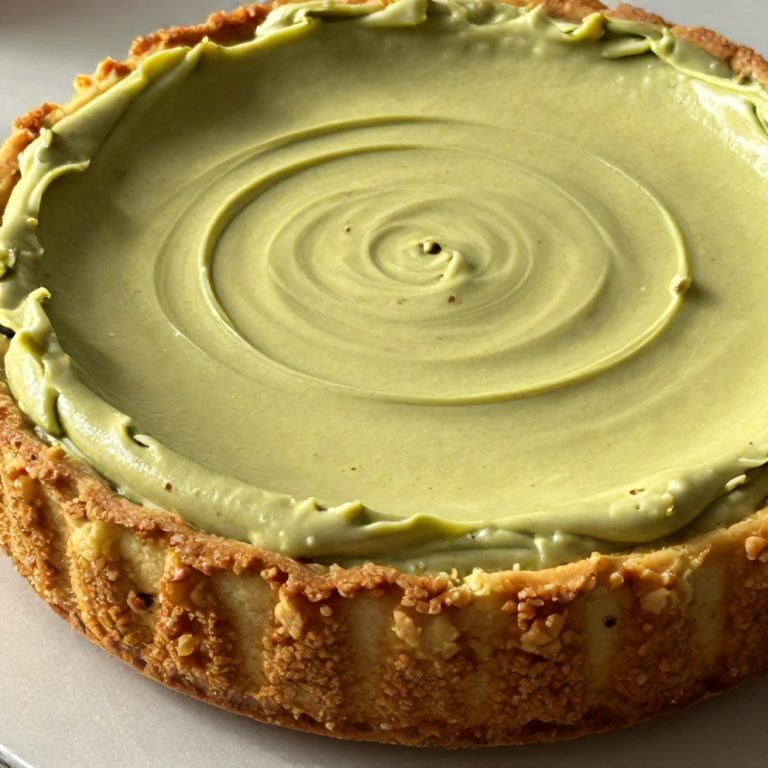
Easy No-Bake Rice Krispie Treat Cheesecake Recipe
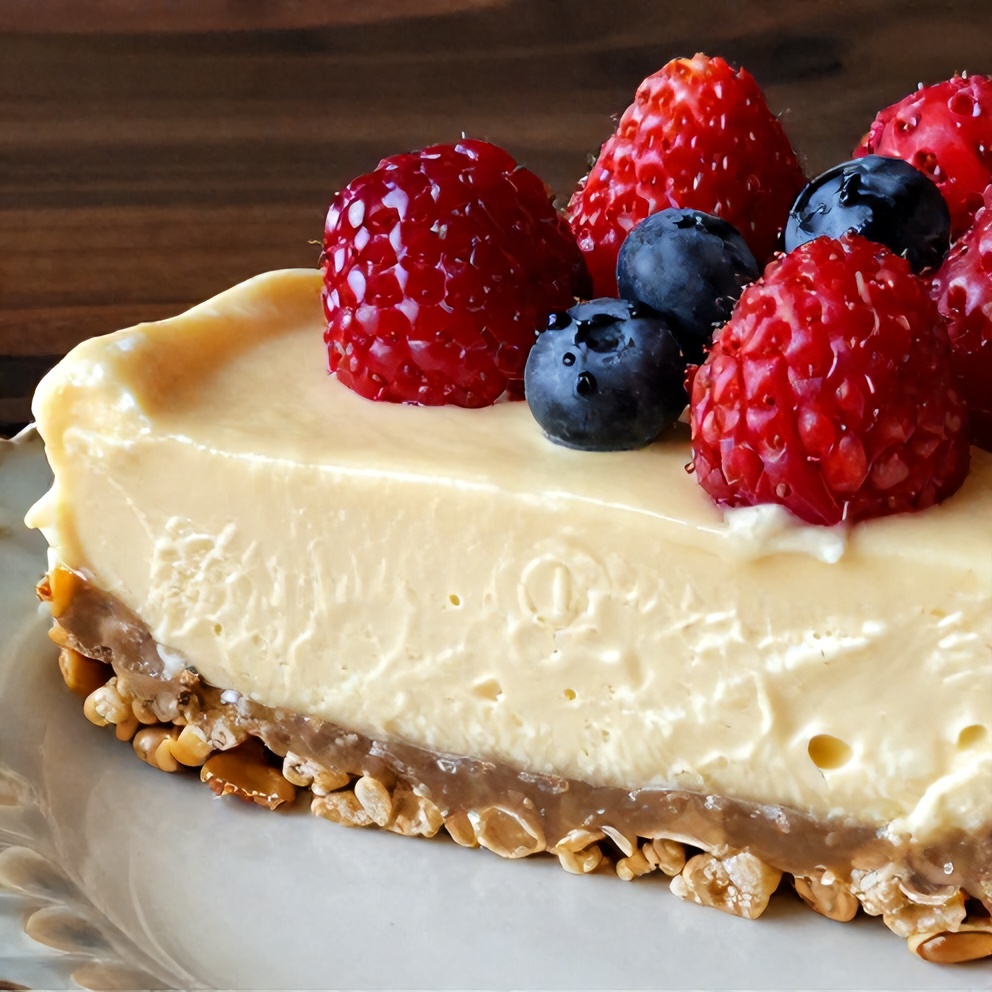
Easy No-Bake Rice Krispie Treat Cheesecake is the ultimate no-fuss dessert. After making this many times, I’ve mastered the perfect creamy filling and crispy crust. The trick I discovered is using melted marshmallows to bind the Rice Krispies. Keep reading for my best tips. If you love recipes like this, you’ll also enjoy Easy Churro Cheesecake Bars and Creamy Banana Pudding Cheesecake Recipe.
Why This Easy No-Bake Rice Krispie Treat Cheesecake Recipe Is Pure Comfort
- Crispy Rice Krispie treat crust
- Creamy no-bake cheesecake filling
- Easy to make with no oven required
- Perfect for potlucks and parties
What You'll Need for Easy No-Bake Rice Krispie Treat Cheesecake Recipe
Choosing the right ingredients makes a big difference, but this recipe is forgiving enough to work with what you have.
- Rice Krispie cereal
- Marshmallows
- Butter
- Cream cheese
- Sweetened condensed milk
- Vanilla extract
- Cool Whip
- Vanilla extract
- Cool Whip
- Optional: Fresh berries
- Optional: Chocolate chips
- Optional: Whipped cream

📝 Ingredient Notes
- Marshmallows: Use regular-sized marshmallows for best results.
- Cream cheese: Ensure cream cheese is softened for easy mixing.
🛒 Tools & Equipment I Recommend
- KitchenAid Hand Mixer — Makes quick work of mixing the cheesecake filling and Rice Krispie treat crust. → See on Amazon
- Silicone Spatula — Helps scrape every bit of the cheesecake filling from the bowl. → See on Amazon

How to Make Easy No-Bake Rice Krispie Treat Cheesecake Recipe
- Prepare the Rice Krispie treat crust: Melt butter and marshmallows together. Stir in Rice Krispie cereal. Press into a pan and let set.
- Make the cheesecake filling: Beat cream cheese until smooth. Add sweetened condensed milk and vanilla extract. Fold in Cool Whip.
- Assemble the cheesecake: Spread the cheesecake filling over the Rice Krispie treat crust. Chill until firm.
Cook's Tips for Perfect Easy No-Bake Rice Krispie Treat Cheesecake Recipe
- Common mistake and fix: Avoid overmixing the Rice Krispie treat mixture to prevent it from becoming too hard. If it does, add a bit more melted marshmallows and butter.
- Pro tip: For a firmer cheesecake, add a bit of unflavored gelatin to the filling.
- Pro tip: Press the Rice Krispie treat crust into a springform pan for easy removal.
Storing & Reheating Easy No-Bake Rice Krispie Treat Cheesecake Recipe
Short-Term Storage
Store in an airtight container in the fridge. Store in the fridge for up to 5 days. Make-ahead tip: The Rice Krispie treat crust can be made up to 2 days ahead. Assemble the cheesecake just before serving.
Freezing Easy No-Bake Rice Krispie Treat Cheesecake Recipe
Freeze for up to 2 months. Thaw overnight in the fridge before serving.
Recipe Notes
- Chef tip: For a lighter version, use fat-free cream cheese and Cool Whip.
- Best substitution: Substitute the Rice Krispie treat crust with a graham cracker crust for a different twist.
- Make-ahead: The cheesecake can be made up to 1 day ahead. Keep chilled.
- Scaling: This recipe can be easily doubled for a larger crowd.
- Troubleshooting: If the cheesecake is too soft, chill it longer. If it's too hard, let it sit at room temperature for a bit.
Want to level up this recipe?
Springform Pan — Makes it easy to remove the cheesecake from the pan. → Check price on Amazon
Easy No-Bake Rice Krispie Treat Cheesecake Recipe
Ingredients
Main Ingredients
- Rice Krispie cereal
- Marshmallows
- Butter
- Cream cheese
- Sweetened condensed milk
- Vanilla extract
- Cool Whip
Seasonings
- Vanilla extract
- Cool Whip
Optional Toppings
- Fresh berries
- Chocolate chips
- Whipped cream
Instructions
- Prepare the Rice Krispie treat crust: Melt butter and marshmallows together. Stir in Rice Krispie cereal. Press into a pan and let set.
- Make the cheesecake filling: Beat cream cheese until smooth. Add sweetened condensed milk and vanilla extract. Fold in Cool Whip.
- Assemble the cheesecake: Spread the cheesecake filling over the Rice Krispie treat crust. Chill until firm.
Notes
- Chef tip: For a lighter version, use fat-free cream cheese and Cool Whip.
- Best substitution: Substitute the Rice Krispie treat crust with a graham cracker crust for a different twist.
- Make-ahead: The cheesecake can be made up to 1 day ahead. Keep chilled.
- Scaling: This recipe can be easily doubled for a larger crowd.
- Troubleshooting: If the cheesecake is too soft, chill it longer. If it's too hard, let it sit at room temperature for a bit.
Storage
- Fridge: Store in the fridge for up to 5 days.
- Freezer: Freeze for up to 2 months. Thaw overnight in the fridge before serving.
- Make ahead: The Rice Krispie treat crust can be made up to 2 days ahead. Assemble the cheesecake just before serving.
Nutrition Per Serving
- Calories: 350
- Protein: 4g
- Fat: 12g
- Carbs: 55g
- Fiber: 0g
- Sugar: 30g
- Sodium: 150mg
- Cholesterol: 40mg
- Sat. Fat: 7g
Nutritional values are estimates only. Actual values may vary by brand and portion size.
Easy No-Bake Rice Krispie Treat Cheesecake Recipe FAQs
Yes, you can make the Rice Krispie treat crust up to 2 days ahead and assemble the cheesecake up to 1 day ahead.
This could be due to not chilling the cheesecake long enough or using too much Cool Whip. Try reducing the Cool Whip or chilling the cheesecake longer.
Yes, you can freeze the cheesecake for up to 2 months. Thaw overnight in the fridge before serving.
No, this recipe is specifically designed for no-bake and does not require an air fryer.
You can substitute Cool Whip with whipped cream or Greek yogurt for a lighter version.
A Warm Final Note
I can’t wait for you to try Easy No-Bake Rice Krispie Treat Cheesecake Recipe and see how effortlessly it comes together. When you make it, pop back here and leave a rating or share how it turned out — I love hearing from you!